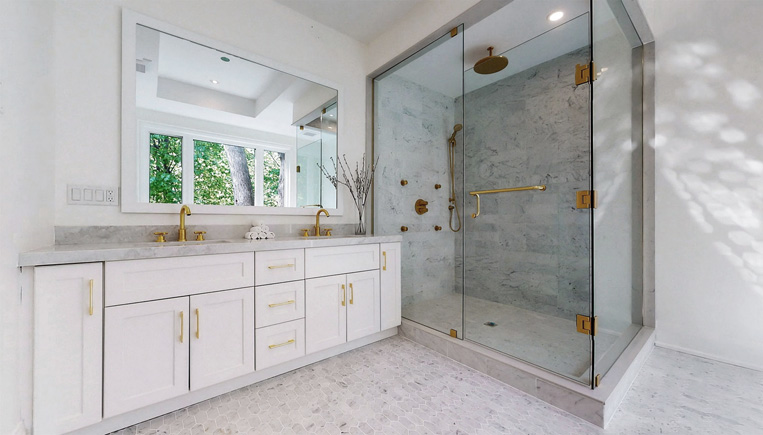
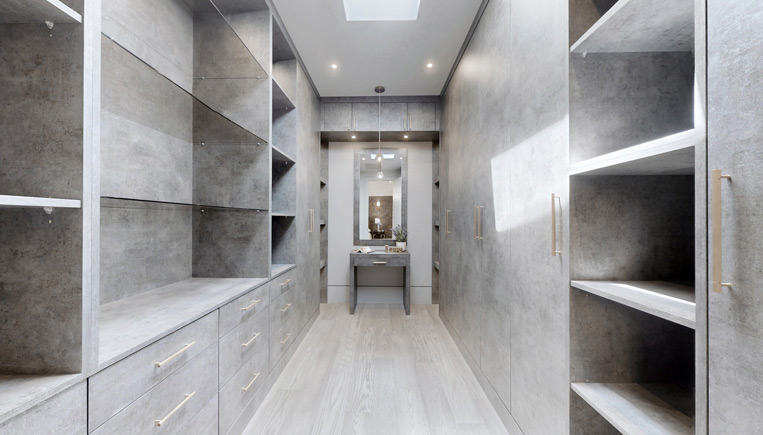
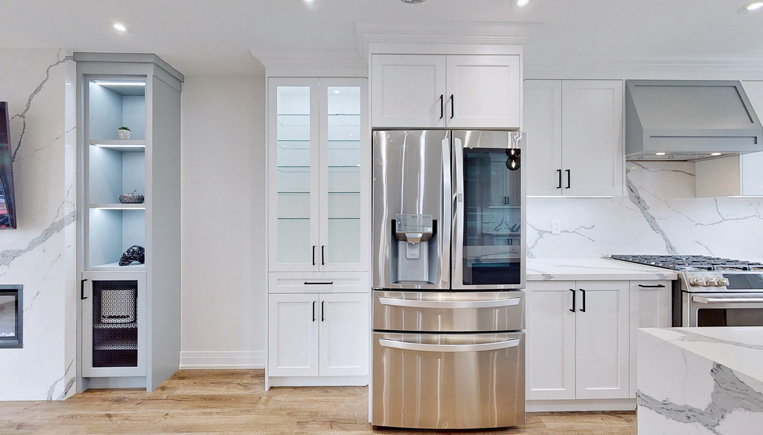
Renovating a bathroom in Etobicoke is exciting—but it can also be overwhelming if you don’t start with a clear plan. At Lions Den Construction, we believe success begins with knowing which tasks must happen in what order. Doing things out of sequence can lead to delays, extra costs, and even damage to newly installed materials. Here’s a reliable sequence to follow so your bathroom renovation in Etobicoke goes smoothly and stays on budget.
Step-by-Step Order for a Successful Bathroom Renovation
1. Planning & Design
Start with a solid design plan. Before you touch anything, decide exactly what you want:
- Define your goals (modernize, expand, improve functionality, etc.).
- Select fixtures, finishes, tiles, cabinetry, lighting, and hardware.
- Consider the layout—if you’re moving plumbing or changing the shower or tub position, you’ll need to factor in permits and structural constraints.
- Create a realistic budget, including a buffer for unexpected surprises (hidden water damage, structural problems).
Getting all materials ordered and design decisions finalized early helps avoid mid‐project delays.
2. Permits & Preliminary Inspections
In Etobicoke (and throughout greater Ontario), many renovation projects—especially those that change plumbing, electrical, or structural elements—require permits. Before demolition:
- Check with local authorities to see what permits are needed.
- Have preliminary inspections to look for hidden issues: water damage, mold, structural problems, or unsafe wiring.
- Make sure your contractor is licensed and insured.
This phase avoids costly fines or having to redo work later because something doesn’t meet regulations.
3. Demolition & Rough Disassembly
Once designs are locked in and permits are obtained, it’s time to tear out what’s being replaced:
- Remove old fixtures: bathtub or shower, vanity, sink, toilet, lighting.
- Strip flooring, wall tiles, and possibly drywall or any water-damaged substrate.
- Be careful with plumbing lines, electrical wiring, and subflooring—if you uncover damage, replace or repair as needed.
A clean demolition sets up the rest of the work properly.
4. Rough-Plumbing & Electrical Work
With the space cleared:
- Rework plumbing: reroute or install new supply lines for sink, shower or tub, toilet, as needed.
- Install or relocate electrical wiring: power points, lighting, exhaust fans. Include ventilation upgrades now while walls are open.
- Ensure all rough works are up to code and pass inspections before sealing up walls.
5. Structural and Wall Preparations
After plumbing/electrical rough-ins:
- Framing or adjusting any studs if necessary—for mounting heavy items (e.g. cabinets, grab bars).
- Install moisture-resistant backer boards (especially in showers or tub areas).
- Place vapour barriers where required to protect walls from moisture.
These steps are critical for long-term durability and preventing mold or rot.
6. Wall Finishes and Priming
Before installing flooring or the fixtures:
- Hang drywall (or moisture-rated drywall in non-wet zones).
- Apply first coats of paint where needed—doing this before the heavy work helps avoid mess.
- Prime surfaces, especially areas that will receive tile or frequent moisture exposure.
7. Tiling and Flooring
With walls prepped:
- Start with wall tiles in wet zones (shower walls, tub surrounds).
- Then install floor tile or other flooring, making sure it extends under fixtures like vanities and toilets for a clean, continuous look.
Let grout and tile cures fully before proceeding to avoid issues later.
8. Installing Fixtures, Cabinetry & Plumbing Fixtures
Once tiling and flooring are dry:
- Install the tub or shower base, followed by glass doors or enclosure if applicable.
- Mount cabinetry, vanity, sinks, and faucets.
- Install toilet.
Make sure plumbing fixtures are sealed and functional.
9. Lighting, Ventilation & Electrical Finish Work
At this stage:
- Install final light fixtures.
- Fit exhaust fan or ventilation systems properly to avoid humidity issues.
- Finish electrical: outlets, switches, GFCIs (ground fault circuit interrupters).
10. Trim, Accessories & Final Touches
The final layer of detail:
- Install baseboards, mouldings, shelving, mirrors, towel bars.
- Do final painting touch-ups where needed.
- Ensure caulking around tub, shower edges, sink to prevent leaks.
- Clean thoroughly.
Why Following the Right Order Matters
Starting with the right sequence saves time, money, and stress. It minimizes the risk of damage to finished surfaces during rough work, avoids code violations, and ensures plumbing or electrical problems aren’t hidden behind tiles or cabinets. Plus, well-executed order helps the project move steadily forward with fewer interruptions.
Tips for a Smooth Bathroom Reno in Etobicoke
- Choose a contractor who can guide you through permit processes and inspections.
- Order long-lead items (tiles, vanities, custom cabinetry) well ahead of start date.
- Keep communication open: changes mid-project can ripple through and affect multiple phases.
- Allow some extra time in your schedule for unexpected hiccups—older homes, for example, often reveal surprises behind walls or floors.
A bathroom renovation done right isn’t just about style—it’s about structure, function, and longevity. When each step is done in the proper order, the result is a space that looks fantastic and lasts for years. If you’re planning a bathroom refresh in Etobicoke, reach out to Lions Den Construction. We’ll help lay out the timeline, scope, and sequence tailored for your home so you can relax and enjoy the process.


